Parts
There are three levels in the concept of parts in HH Data Management
- Part Category: a part category represents the type of the part. An example of a part category would be Front Spring or Brake Pad.
- Part: a part represents the specification of the part. An example of a part might be the 130 N/mm front spring or the Pagid RS 44 brake pad.
- Part Item: a part item represents an actual physical part that you have in inventory. For example the front spring part item would be the actual 130 N/mm springs or for the brake pads would be the actual Pagid brake pads.
Each level of the part hierarchy has a definition attached to it and can therefore be customized. There is a single part category definition for each account that is linked to all part categories. Each time a new part category is created new definitions are created for the parts and part items that will belong to that part category. Going back to the spring example, on the spring part you might define properties like expected rate or model number. On the spring part item you might define properties like the actual rate or weight that you can measure for each spring.
Parts View
The Parts view can be opened from the Admin tab of the ribbon bar

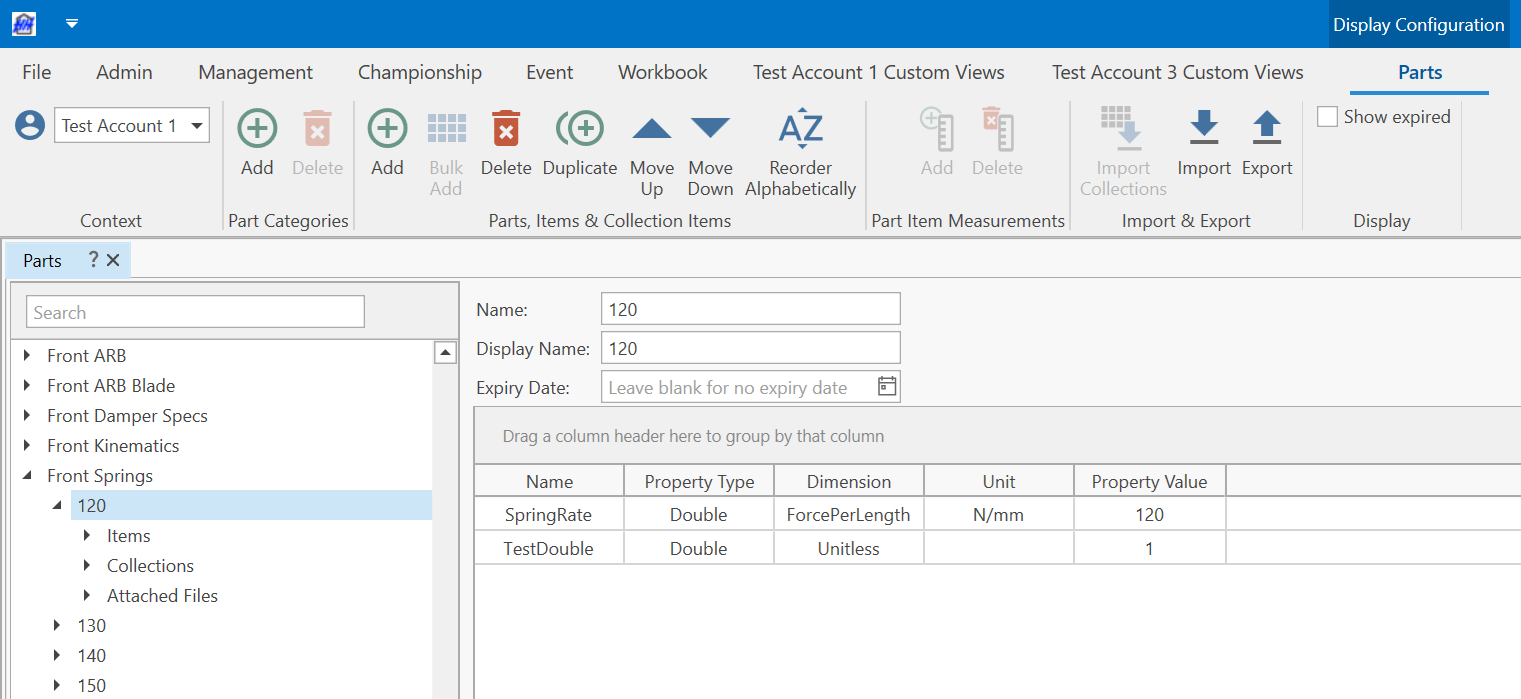
The parts view contains a list of all part categories, parts and part items

Adding, editing and deleting parts and part categories
Part categories, parts and part items can be created using the buttons on the ribbon bar. In all cases you will be asked to define the name and display name of the new item. When a new part category is added it will automatically add new definitions that can be used to define parameters for the part and part items belonging to that part category.
The main part of the view shows and allows you to edit the parameter value of all parameters belonging to the selected part category, part or part item.
Part items can be bulk added using the Bulk Add button. This allows you to quickly create multiple part items and define a pattern for the name. For example with the following input, three part items will be created called 130_1, 130_2 and 130_3.
Part and part item collections
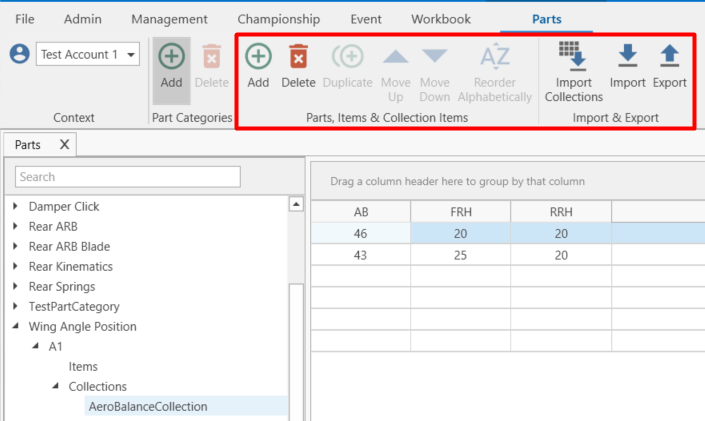
You may want to add collections to a part or part item, for example to create look up tables. To accomplish this a collection parameter should be added to the relevant part or part item definition. Once this is done then the collection will show up in the tree. Items can be added or removed from the collection using the buttons on the ribbon bar. For 1D and 2D look up tables the Import Collections button can be used to import an Excel into a collection.

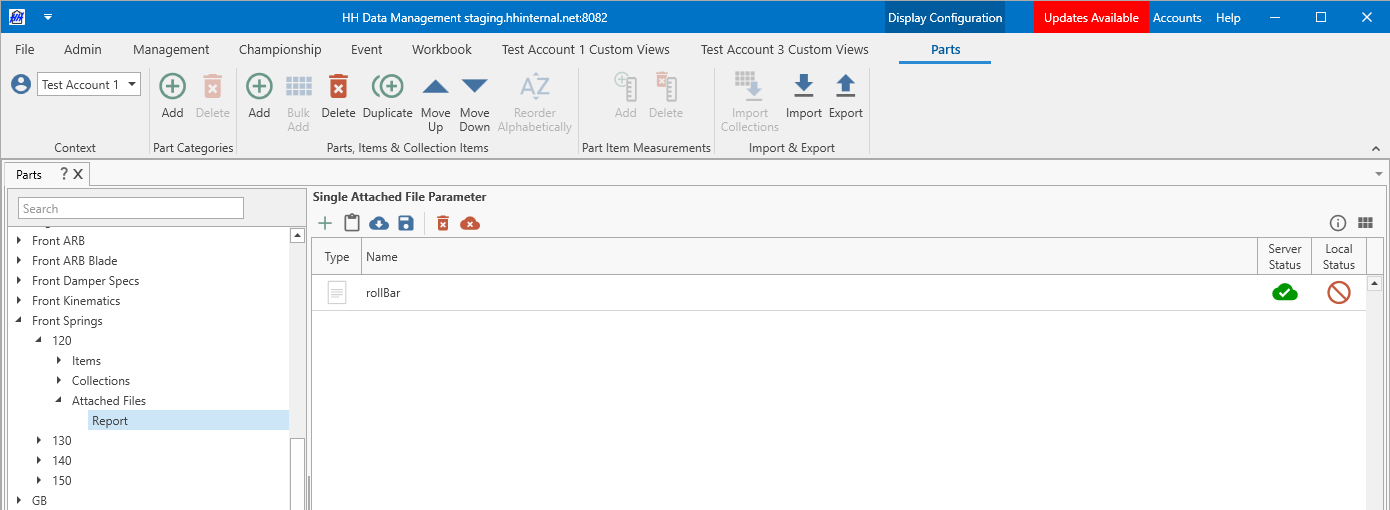
It's also possible to add attached files to a part or part item. If an attached file parameter is added to the relevant part or part item definition then it will show up as individual node under the Attached Files-node. General attached files can be manage by selecting the Attached Files-node directly. In the following example an attached file parameter with the name Report has been added to the part definition with the setting Allow Multiple Files set to false.

Expiry date
An expiry date can be set on all parts and part items.
This date is used to prevent the part or part item from showing up in any part selectors in the software in events that take place after the expiry date. This can be useful to hide old part and part items from the software.
Parts and part items that have expired before the view is loaded are hidden in this view, these can be shown by enabling the "Show expired" option in the ribbon bar.